Introduction
Learning how to use a miter saw is a fundamental skill for anyone involved in woodworking or DIY projects. This guide provides clear, step-by-step instructions, safety tips, and practical advice to help beginners, professionals, and DIY enthusiasts achieve precise and clean cuts efficiently. Whether you are working on trim, framing, or furniture, understanding proper miter saw use improves accuracy, safety, and overall project quality.
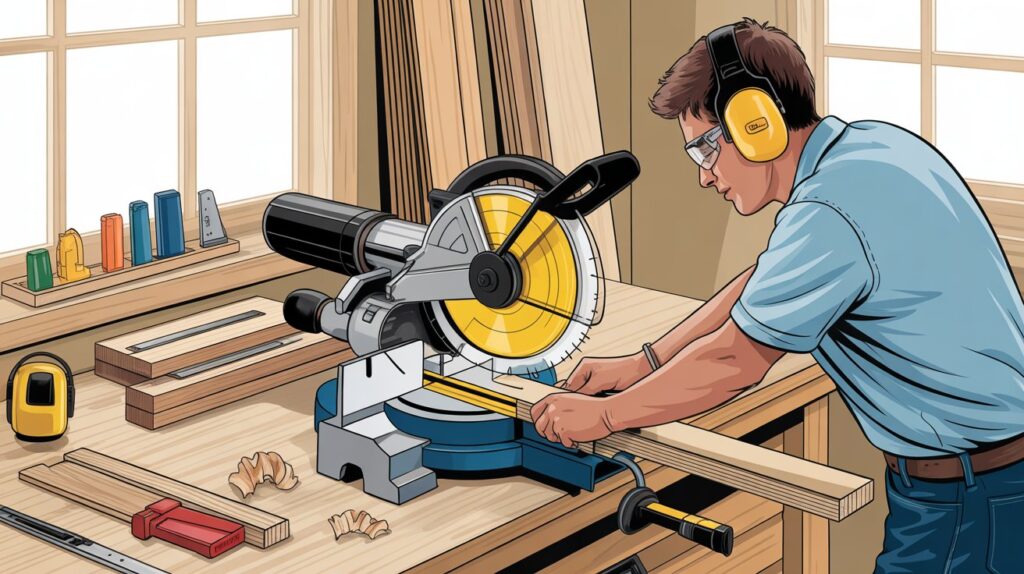
Table of Contents
How a Miter Saw Works and What It Does
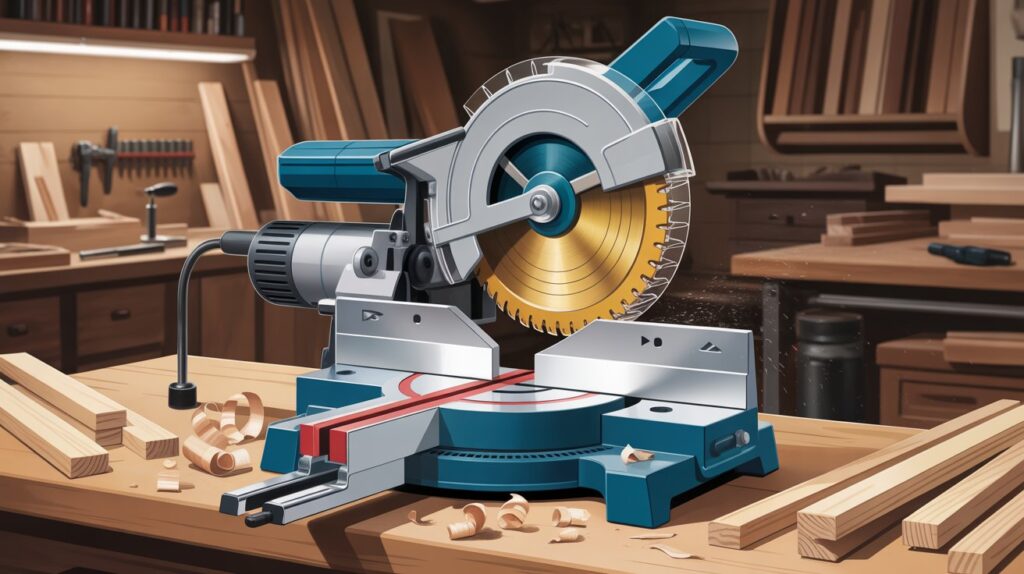
A miter saw is a stationary woodworking tool designed for making fast, accurate cross cuts and angle cuts in wood and other materials. It is commonly used in trim work, framing, and DIY woodworking projects where precision matters. The saw features a circular blade mounted on a pivoting arm that moves downward to cut through the material placed against a fence.
The tool works by allowing the user to adjust the cutting angle using preset or custom miter saw cutting angles. On advanced models such as a compound miter saw or sliding miter saw, the blade can also tilt to create clean bevel cuts and extend forward for wider boards. By combining proper setup, correct blade selection, and safe operating steps, users can achieve consistent and professional-quality results with this versatile power tool.
Types of Miter Saws
There are several types of miter saws available, each designed for different miter saw cutting techniques and project needs. Choosing the right one depends on accuracy requirements, material size, and skill level.
Standard Miter Saw
A standard miter saw is ideal for basic cross cuts and angle cuts. It allows the blade to rotate left or right, making it suitable for simple trim work and beginner-level woodworking tasks.
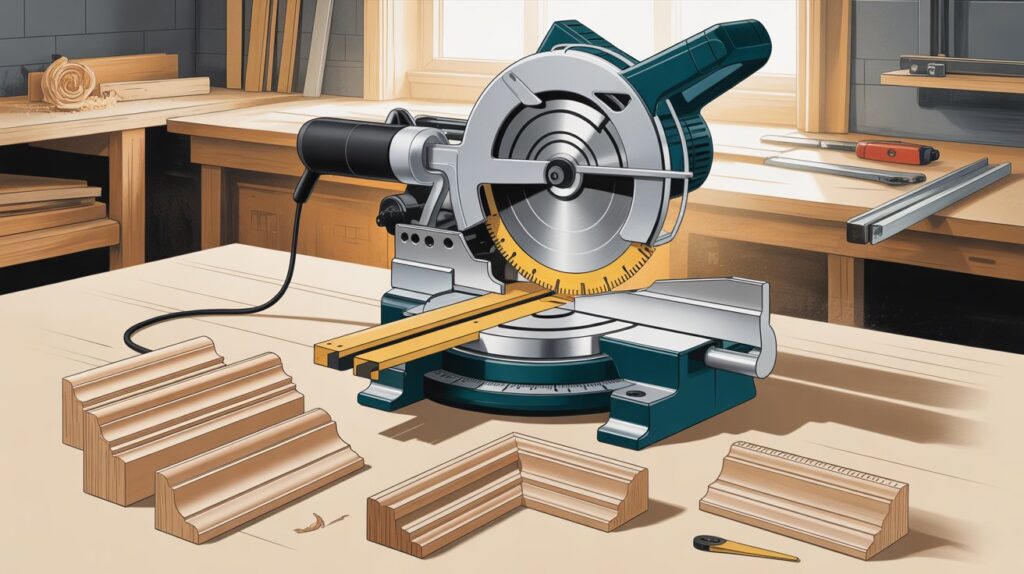
Compound Miter Saw
A compound miter saw can make both angled and bevel cuts by tilting the blade in addition to rotating it. This type is commonly used in crown molding, furniture making, and detailed woodworking projects that require precise multi-angle cuts.
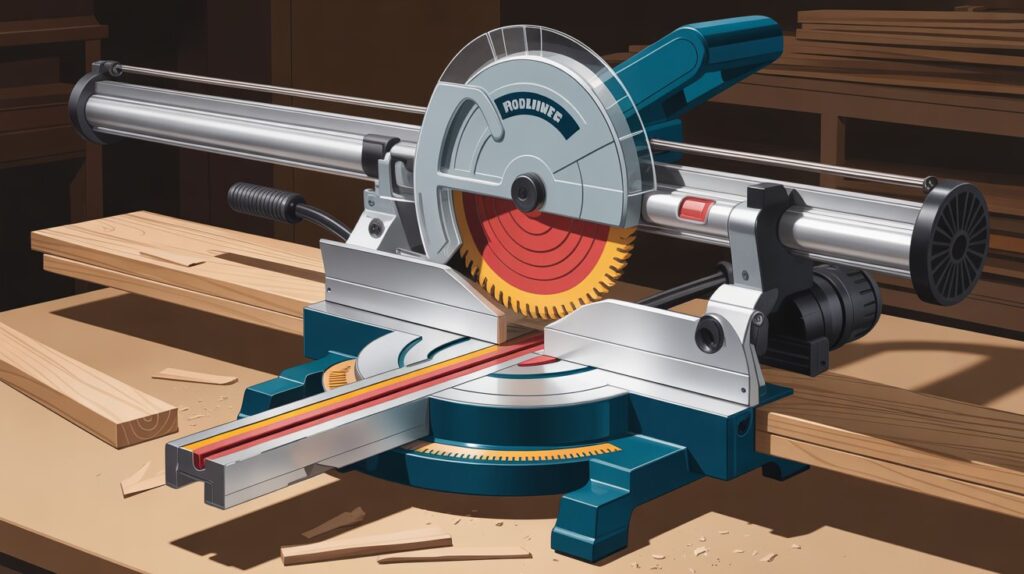
Sliding Miter Saw
A sliding miter saw includes rails that let the blade move forward and backward, increasing cutting capacity. It is well suited for professionals and advanced DIY users who work with wider boards and need consistent precision in large projects.
Understanding these options helps users select the right tool for efficient, safe, and accurate woodworking results.
Safety Precautions Before Using a Miter Saw
Following proper power tools safety practices is critical before operating this cutting tool. Always wear protective gear such as safety glasses and hearing protection to prevent injuries from flying debris and noise. Make sure the workspace is clean, well-lit, and free from loose objects that could interfere with accurate cutting.
Inspect the saw blade types to ensure the blade is sharp, correctly installed, and suitable for the material being cut. Secure the workpiece firmly using clamps to avoid movement during cutting, which is a common cause of accidents. Keep hands at a safe distance from the blade path and never reach across the cutting area while the blade is moving. These precautions help reduce risks and ensure safer, more controlled woodworking operations.
Tools and Materials You Need
To achieve accurate results, having the right equipment is essential for proper miter saw operation steps. The most important tool is a quality miter saw paired with the correct saw blade types based on the material, whether wood, plastic, or composite boards. A sharp, well-matched blade improves precision and reduces tear-out.
Measuring tools such as a tape measure, speed square, and pencil are necessary for marking exact cutting lines and maintaining consistent miter saw cutting angles. Clamps and work supports help stabilize materials during cutting, improving control and safety. These tools work together to support clean, reliable cuts across a wide range of DIY woodworking and professional projects.
How to Use a Miter Saw Step by Step
Begin by placing the tool on a stable, level surface and checking that all adjustments are locked in place. Proper miter saw setup guide practices ensure accurate results and reduce movement during cutting. Select the correct blade based on the material and confirm it is securely installed.
Next, measure and mark the workpiece carefully to achieve precise miter saw cutting angles. Position the material flat against the fence and table, then secure it using clamps. When making cross cuts or bevel cuts, lower the blade smoothly with controlled pressure and allow it to reach full speed before contact. After completing the cut, release the trigger and wait for the blade to stop completely before lifting it. Following these miter saw operation steps helps maintain accuracy, safety, and clean results in every project.
Common Mistakes to Avoid When Using a Miter Saw
One of the most common errors is skipping proper measurement, which leads to inaccurate angle cuts and wasted material. Always double-check markings and settings before cutting to maintain precision. Another frequent mistake is failing to secure the workpiece, increasing the risk of movement during cross cuts and reducing overall accuracy.
Using the wrong saw blade types can also affect cut quality and safety. Dull or incorrect blades cause tear-out and uneven results. Ignoring basic power tools safety practices, such as keeping hands too close to the blade or cutting too quickly, may result in serious injury. Avoiding these mistakes helps improve efficiency, accuracy, and overall woodworking performance.
Tips for Accurate and Clean Cuts
Achieving precise results depends on using proper miter saw cutting techniques and maintaining the tool correctly. Always choose high-quality saw blade types designed for the specific material, as sharper blades produce smoother edges and reduce splintering. Keeping the blade clean and aligned also improves cutting accuracy.
Apply steady, controlled pressure and allow the blade to reach full speed before making cross cuts or bevel cuts. Regularly check and calibrate the fence and angle settings to ensure consistent precision cutting. These practices help deliver clean, professional-looking results across both DIY woodworking and professional projects.
Choosing the Right Miter Saw (Buying Guide)
Selecting the right tool is crucial for both beginners and professionals. Consider the types of cuts you will make, such as cross cuts, bevel cuts, or compound angles, to determine whether a standard, compound, or sliding miter saw best suits your needs.
Pay attention to motor power and blade size, as these affect cutting efficiency and the thickness of material you can handle. Portability is important for those working in multiple locations, while stability and build quality matter for precision and safety. Budget considerations should balance quality and functionality to ensure reliable performance. Choosing the correct saw ensures accurate miter saw cutting angles, smooth operation, and long-term durability for all woodworking projects.
Maintenance and Care Tips
Proper maintenance ensures consistent performance and longevity of your tool. Regularly clean sawdust and debris from the blade, fence, and table to maintain smooth operation and accurate miter saw cutting angles. Inspect saw blade types frequently, replacing dull or damaged blades to prevent uneven cuts and reduce wear on the motor.
Lubricate moving parts as recommended by the manufacturer and check the alignment of the fence and miter settings periodically. Store the tool in a dry, safe location to avoid rust or damage. Following these care practices helps maintain precision, safety, and efficiency for both DIY projects and professional woodworking tasks.
Conclusion
Mastering how to use a miter saw is essential for achieving precise and professional results in woodworking, DIY projects, and home renovations. By understanding the different types of saws, following proper miter saw operation steps, and adhering to safety and maintenance practices, users can work efficiently and confidently. Choosing the right tool, using accurate cutting techniques, and caring for the saw ensures long-lasting performance, clean cuts, and safer work conditions for both beginners and professionals.
Frequently Asked Questions About How to Use a Miter Saw
1. Is this tool good for beginners?
Yes, with proper guidance and adherence to miter saw safety guide practices, beginners can achieve precise cross cuts and angle cuts safely. Starting with basic projects helps build confidence and skill.
2. Can it cut materials other than wood?
Certain saw blade types allow cutting materials like plastic or composite boards. Always choose a blade designed for the specific material to ensure clean cuts and prevent damage.
3. What size should I choose?
Blade size and motor power influence cutting capacity. Smaller blades are suitable for trim and light DIY projects, while larger blades handle wider boards in professional work.
4. How do I ensure accurate cuts?
Use proper miter saw cutting techniques, double-check measurements, and secure the workpiece with clamps. Regular calibration of the fence and angle settings improves precision.
5. Can I make compound cuts with this tool?
Yes, compound miter saws or sliding miter saws allow bevel cuts and angled cuts simultaneously, ideal for crown molding or complex woodworking projects.